
How to Replace Car Battery Terminal Clamps

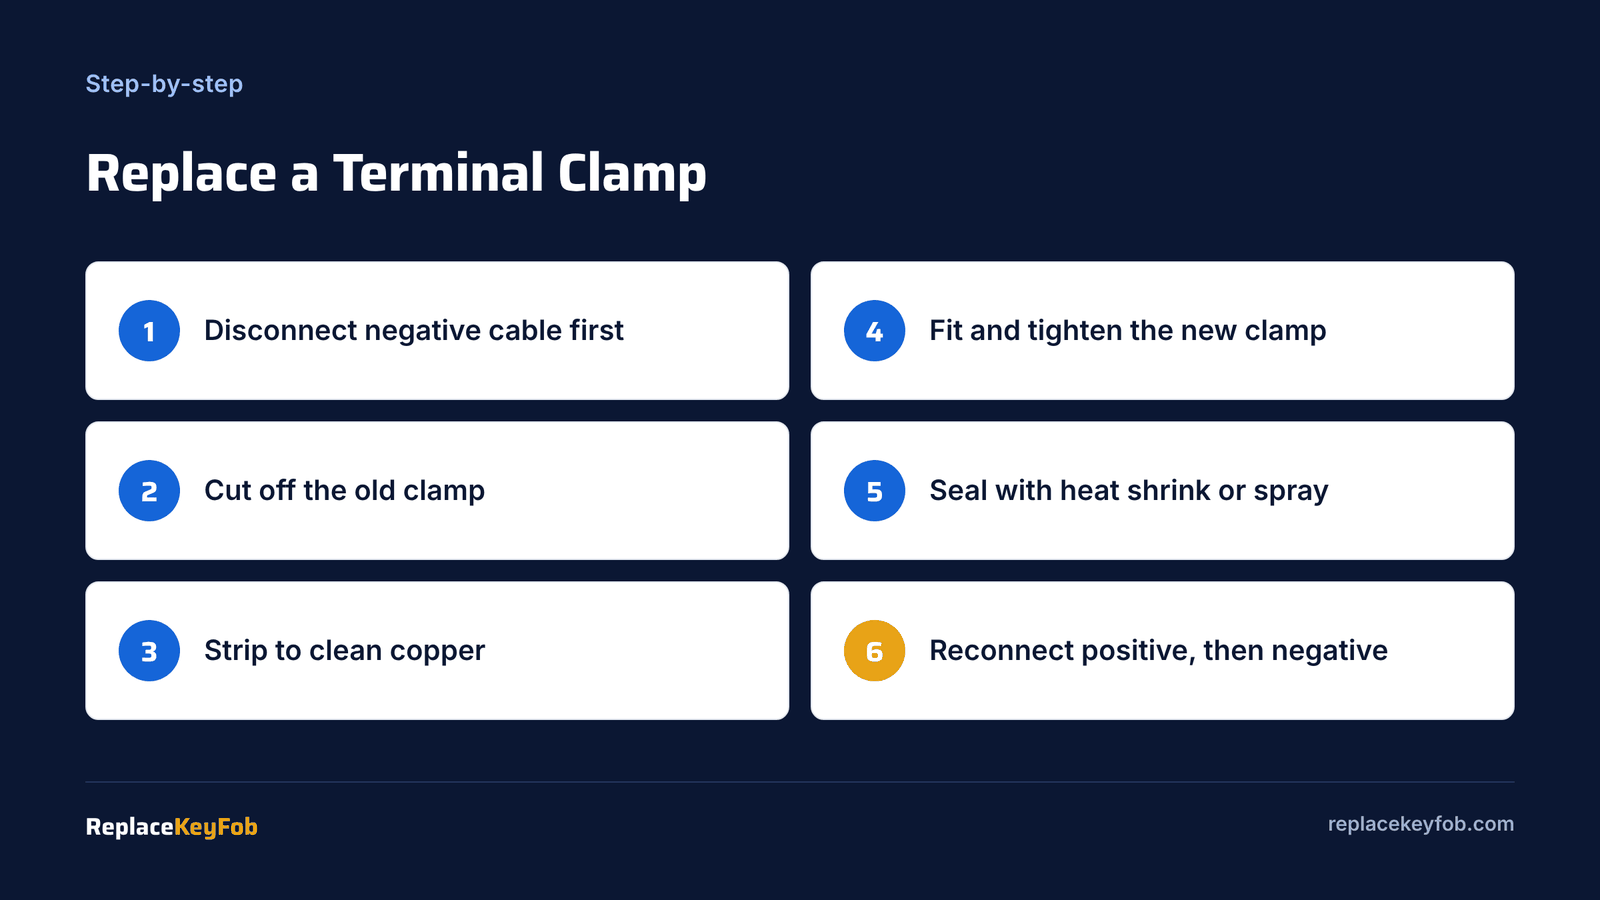
To replace a car battery terminal clamp, disconnect the negative cable first, then the positive. Cut the old clamp off, strip the cable back to clean copper, and fit a new clamp sized for that post. Tighten it, seal the joint, and reconnect positive first, then negative. A loose clamp can sometimes be fixed with a shim, but a cracked one should be replaced.
Battery terminal clamps take a beating. They sit in heat and acid fumes, get tightened and loosened every time someone changes a battery, and corrode from the inside out. A bad clamp can make a healthy battery look dead: slow cranking, clicking, flickering dash lights, or a car that starts fine one day and not the next.
Replacing a clamp is a cheap, common repair, but doing it right matters. A clamp that only grips the outer few strands of a corroded cable will fail again quickly. This guide covers when to replace a clamp, which kind to buy, and how to install it so it lasts. If the cable itself is damaged or swollen with corrosion along its length, replace the whole cable instead of just the end.
Signs Your Battery Terminal Clamp Needs Replacing
- The clamp is cracked, split or stretched so it no longer tightens around the post
- The bolt spins without tightening or is rusted solid
- Heavy white, blue or green corrosion keeps coming back even after cleaning
- The cable insulation near the clamp is swollen, soft or cracked
- You can twist the clamp on the post by hand after tightening
- The clamp gets hot after cranking the engine
Corrosion alone does not always mean replacement. Clean it first using the method in battery terminal corrosion. If the clamp tightens properly afterward and the copper underneath is bright, you may not need a new one.
Types of Battery Terminal Clamps
| Type | How it attaches to the cable | Pros | Cons |
|---|---|---|---|
| OEM style crimp or molded | Factory crimped or molded onto cable | Best seal, lowest resistance | Usually requires a new cable |
| Bolt-on clamp with saddle | Cable clamped under a plate with two bolts | Easy, no special tools | More exposed copper, can loosen |
| Crimp-on replacement clamp | Cable crimped into a barrel | Strong, durable | Needs a hammer or hydraulic crimper |
| Military or marine style | Separate post clamp with a stud for a ring lug | Very solid, easy to remove | Bulkier; may not clear covers |
| Side-post terminal bolt | Bolt threads into the battery side | Common on many GM vehicles | Different design; replace the bolt or cable end |
Positive vs negative post sizes
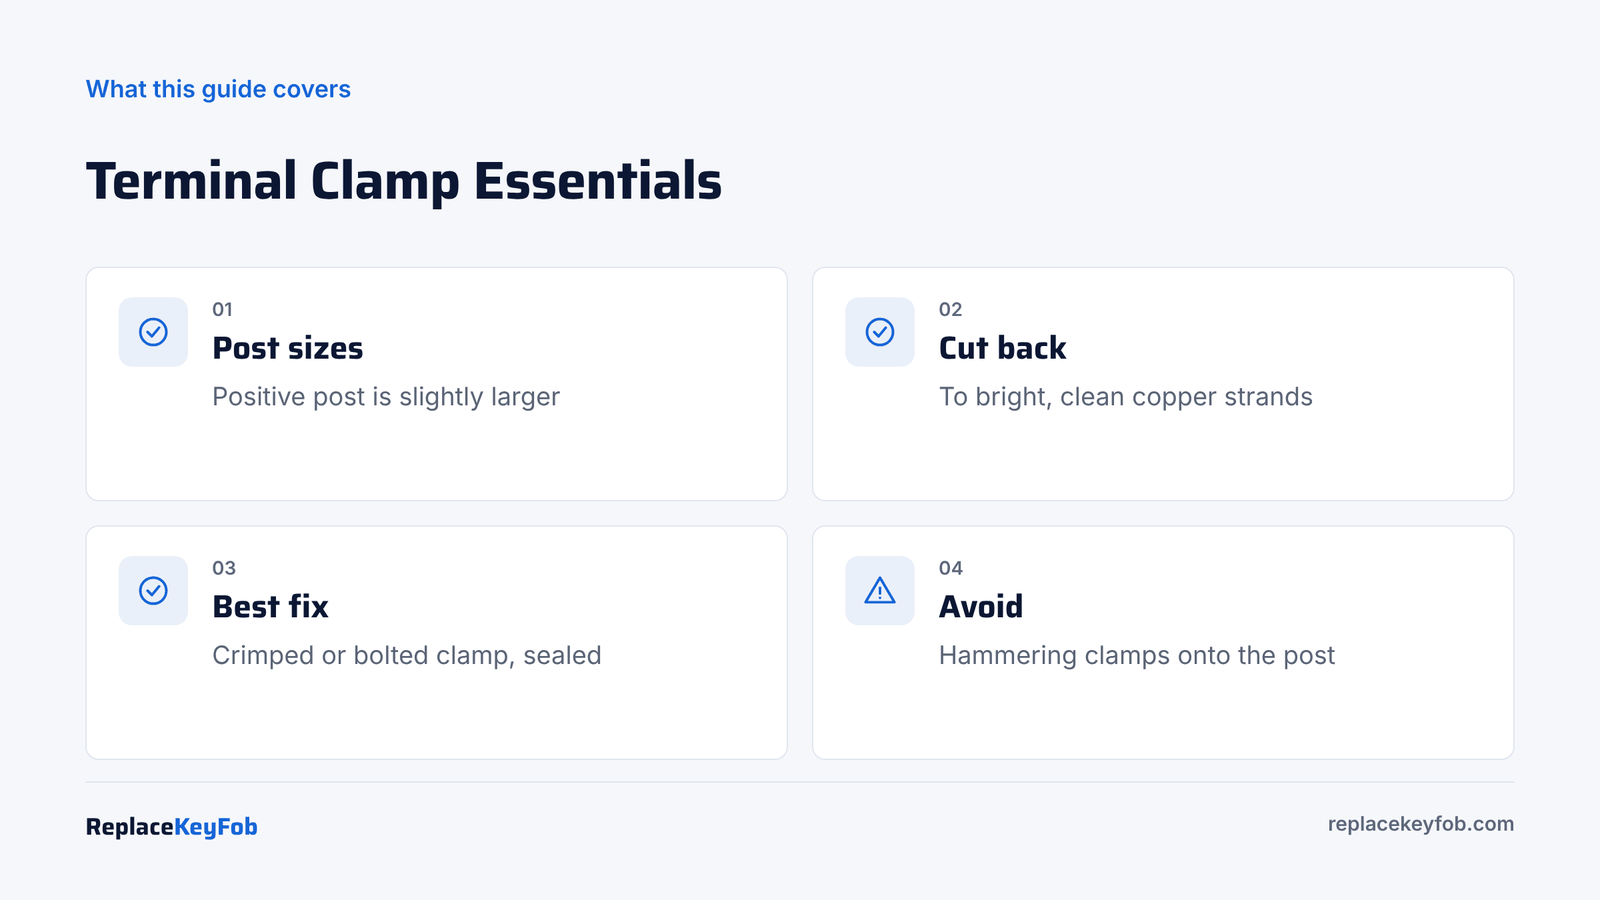
On standard SAE top-post batteries, the positive post is slightly larger than the negative, about 0.69 to 0.75 inches across the top versus roughly 0.62 to 0.69 inches for the negative. This difference is deliberate, so a positive clamp will not seat properly on a negative post. Buy clamps marked for positive and negative, or a pair, so they match the posts.
Heavy-Duty Battery Terminal Clamps (Positive and Negative Pair)
Choose clamps marked for positive and negative SAE posts, sized for your cable gauge, with corrosion-resistant plating and stainless or plated hardware.
As an Amazon Associate, ReplaceKeyFob earns from qualifying purchases.
Tools and Parts You Need
- Replacement clamps sized for your posts and cable gauge (commonly 4 AWG to 1/0 AWG on cars and trucks)
- 10 mm, 13 mm or 1/2 inch wrenches depending on the clamp
- Cable cutters (heavy-duty, not wire snips)
- Utility knife or cable stripper
- Battery post and clamp brush
- Heat shrink tubing with adhesive lining, or terminal sealant spray
- Heat gun or lighter for shrink tubing
- Safety glasses and gloves
- Optional: a memory saver to keep radio and computer settings
For more on picking quality parts, see our guide to the best car battery terminals.
How to Replace a Battery Terminal Clamp Step by Step
- Turn off the car and remove the key. On cars with keyless entry, keep the smart key away from the car.
- Disconnect the negative cable first. Loosen the bolt on the negative clamp and twist it off the post. Disconnecting negative first means a slipping wrench on the positive side cannot short to the body. Our post on how to disconnect a car battery safely covers this in detail.
- Disconnect the positive cable and tuck both cables away from the battery.
- Cut the old clamp off. Cut as close to the clamp as you can to save cable length, then keep trimming back until the copper is bright and copper-colored all the way through. Green or black strands inside mean corrosion has wicked up the cable.
- Check you still have enough length. The cable must reach the post without stretching. If you have to cut more than an inch or two, replace the cable instead of using an extension splice.
- Strip the insulation. Remove just enough to fit the clamp barrel or saddle, usually about 1/2 to 3/4 inch. Do not nick the strands.
- Slide on heat shrink before you fit the clamp, if your clamp style allows.
- Attach the new clamp. For bolt-on saddle clamps, spread the strands evenly under the plate and tighten both bolts firmly. For crimp-on clamps, crimp with the correct tool so the barrel is fully compressed.
- Seal the joint. Shrink the tubing over the joint or spray it with terminal sealant. This keeps acid vapor from wicking into the strands.
- Clean the battery posts until they are bright.
- Reconnect positive first, then negative. Push each clamp fully down onto the post and tighten until you cannot twist it by hand. Do not overtighten; a cracked post means a new battery.
- Start the car and check that everything works.
Why cutting back to clean copper matters
Corrosion inside a cable behaves like a resistor. Even if the clamp looks great, current has to pass through a layer of copper salts. Under cranking load, that resistance causes voltage drop, heat and slow cranking. Trimming to clean metal is the difference between a repair that lasts years and one that fails in months. If you are not sure whether the cable is still good, a voltage drop test across the cable while cranking gives you a clear answer: more than about 0.5 volts lost on one cable means it needs work.
How to Fix a Loose Battery Terminal Clamp
Sometimes the clamp is fine but will not grip the post. Try these in order:
- Clean both surfaces. Built-up corrosion can stop the clamp closing fully.
- Check the clamp is fully seated. Push it down until the top of the post is flush with or just above the clamp.
- Check the bolt. A stretched bolt or stripped nut cannot clamp. Replace the hardware.
- Use a terminal shim. A thin lead or copper shim fills the gap on a clamp that has stretched slightly. This is a short-term fix.
- Replace the clamp if it has closed all the way and still moves. Repeated over-tightening has stretched it.
Never hammer a clamp onto a post. It can crack the post seal and cause the battery to leak.
Side-Post Battery Terminals
Many GM vehicles and some others use side-post batteries. Instead of a clamp, a bolt passes through a ring on the cable end and threads into the battery. Problems are usually a corroded ring end, a stripped bolt, or a missing washer. Replacement side-post ends are available, and the same rules apply: cut back to clean copper, seal the joint, and tighten firmly without forcing the threads.
Troubleshooting After the Repair
| Problem | Likely cause | Fix |
|---|---|---|
| Car still cranks slowly | Other cable end or ground strap is bad | Voltage drop test both cables and grounds |
| Clamp heats up after cranking | Poor crimp or loose saddle bolts | Redo the joint with proper tightening |
| Warning lights or lost settings | Normal after power loss | Reset clock, windows, radio code |
| Key fob or push start not recognized | Some cars need a relearn | See car key not detected after battery change |
| Corrosion returns in weeks | Overcharging or leaking battery | Test charging voltage and battery case |
Some vehicles also need an auto-up window relearn after power loss. If the radio asks for a code, check radio code after battery change.
Mistakes to Avoid
- Disconnecting positive first. This invites sparks if your wrench touches metal.
- Using a clamp sized for the wrong post. A positive clamp will be loose on a negative post.
- Wrapping electrical tape instead of sealing. Tape traps moisture.
- Leaving exposed copper. Exposed strands corrode quickly.
- Using a clamp that is too small for the cable. Cutting strands to make it fit adds resistance.
When to Call a Pro and What It Costs
A shop typically charges about $50 to $150 to replace a single battery terminal clamp, including parts. Replacing a full cable usually runs about $100 to $300 depending on the vehicle and how hard it is to route. If the battery is hard to reach, or the cable runs to the starter or a distribution block, a shop may be faster. Parts stores often check battery and charging health free while you wait.
Frequently Asked Questions
Yes, if the cable is in good condition. Cut back to bright copper, fit a clamp sized for the post and cable, and seal the joint. If corrosion has spread far up the cable, replace the cable.
Clean the post and clamp, push the clamp fully down, and tighten. If the clamp closes completely and still moves, it has stretched and should be replaced. A shim is only a temporary fix.
No. On standard top-post batteries, the positive post is slightly larger, so positive and negative clamps are sized differently.
A thin layer of dielectric grease or terminal protector on the outside after tightening helps prevent corrosion. Do not put a thick layer between the post and clamp.
Parts typically cost about $10 to $40 for a pair. A shop usually charges about $50 to $150 for the job.