
How to Replace a Car Battery Cable (Positive or Negative)

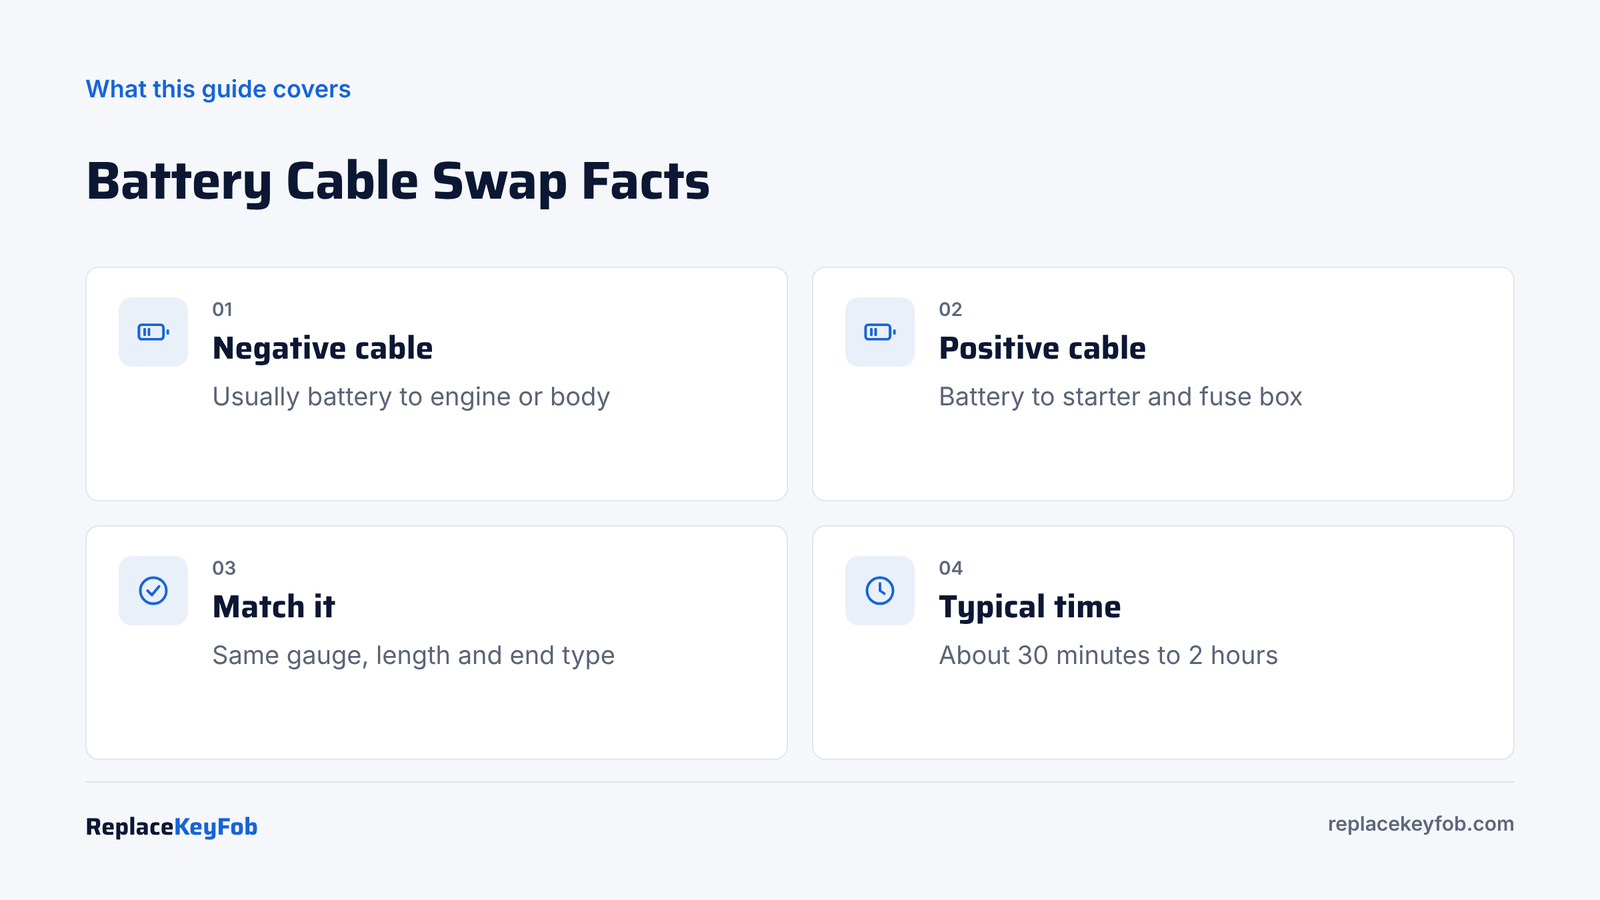
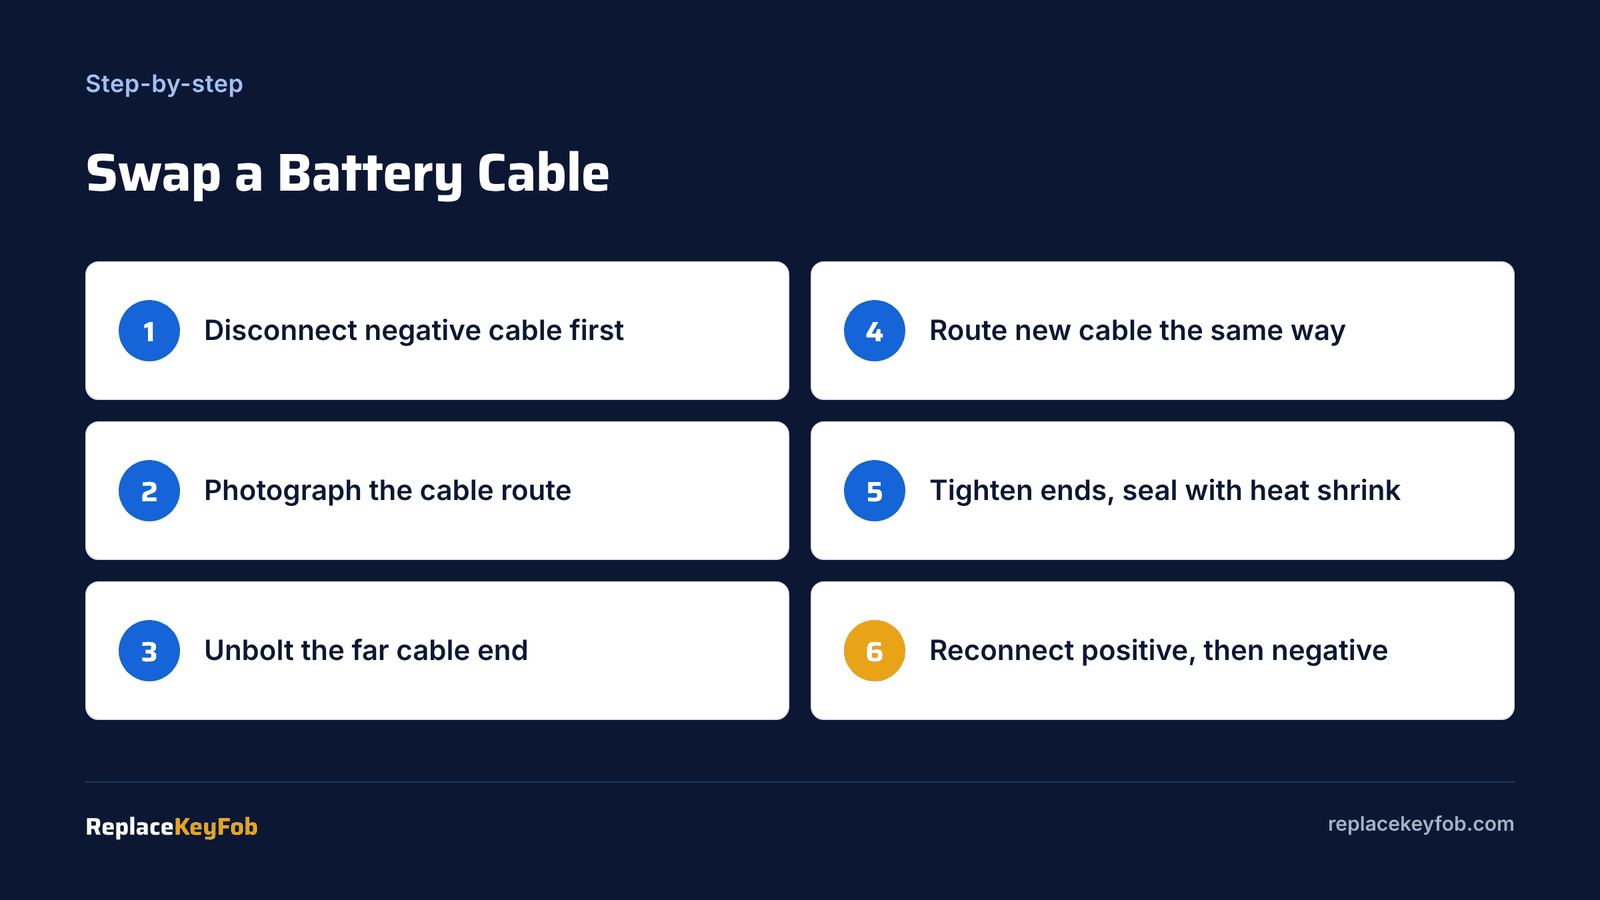
To replace a car battery cable, disconnect the negative cable at the battery first, then the positive. Follow the old cable to its other end (the starter or fuse box for positive, the engine or body for negative), unbolt it, and route a new cable of the same gauge and length the same way. Reconnect positive first, then negative.
Battery cables carry hundreds of amps when the engine cranks. When a cable corrodes inside its insulation, frays, or gets heat damaged near the exhaust, it cannot carry that current. The result looks like a bad battery or starter: slow cranking, a single click, dimming lights, or a charging system that never quite keeps the battery full.
Replacing a cable is usually straightforward on the negative side and can be more involved on the positive side, because the positive cable often runs down to the starter and may feed a fuse box or distribution block. This guide covers both, along with when replacing just the cable end is enough. If only the clamp at the battery is bad, our guide on how to replace car battery terminal clamps is a quicker fix.
When a Battery Cable Needs Replacing
- Swollen, bubbly or hard insulation, often near the battery end
- Green or white corrosion visible under the insulation or at the cable end
- Frayed or broken strands
- Burned, melted or chafed insulation, especially near the exhaust manifold
- Slow cranking even with a fully charged, tested battery
- A cable that gets warm after cranking
- A failed voltage drop test, meaning more than about 0.5 volts lost across one cable while cranking
A swollen cable is a strong clue. Battery acid wicks up the copper strands under the insulation, and the corrosion expands as it forms. By the time you see the swelling, the copper inside is often green and crumbly.
Positive vs negative cable: what each one does
| Cable | Usual route | Extra connections |
|---|---|---|
| Negative (black) | Battery negative to engine block or transmission, sometimes a body ground | Often a smaller body or chassis ground strap |
| Positive (red) | Battery positive to starter solenoid | Often a branch to the fuse box, alternator or a distribution block |
Many modern cars use a positive cable assembly with built-in fusible links or a fuse block at the battery, and the negative cable may have a battery current sensor on it. Those parts are usually replaced as one assembly from the dealer or an OE-style supplier.
Tools and Parts You Need
- Replacement cable that matches gauge, length and end style, or a universal cable plus new lugs
- Socket set with extensions (commonly 10 mm, 13 mm, 15 mm on imports; 5/16, 1/2 and 9/16 inch on domestics)
- Jack and jack stands, or ramps, if the starter is underneath
- Cable cutter and a lug crimper if building your own cable
- Heat shrink tubing with adhesive
- Zip ties to secure the new cable
- Safety glasses and gloves
- Optional memory saver to keep settings
Battery Cable With Pre-Crimped Ends
Choose a cable that matches the original gauge and length, with tinned copper and sealed lugs, or an OE-style assembly for cars with fuse blocks or sensors.
As an Amazon Associate, ReplaceKeyFob earns from qualifying purchases.
Choosing the right gauge and length
Most cars and light trucks use battery cables between about 4 AWG and 1/0 AWG, with larger engines and long cable runs using thicker cable. Never go thinner than the original. A longer cable needs the same or a heavier gauge to keep resistance low. Measure the old cable along its route, not straight across, and add an inch or two for slack.
How to Replace a Negative Battery Cable
- Turn off the car and remove the key.
- Disconnect the negative clamp from the battery and move it away from the post.
- Trace the cable to where it bolts to the engine block, transmission or body.
- Photograph the routing and any clips or brackets.
- Remove the far end bolt and any clips.
- Clean the ground point with a wire brush until the metal is bright. Paint and rust are insulators.
- Install the new cable at the ground point first. Tighten firmly.
- Route it along the original path and fasten the clips or zip ties.
- Leave the battery end off until the positive cable work, if any, is done.
Do not forget any smaller ground strap that runs from the engine to the body. A bad body ground causes odd electrical faults, dim lights and charging problems.
How to Replace a Positive Battery Cable
- Disconnect the negative cable first, then the positive cable at the battery.
- Photograph everything at the starter end and any fuse block or branch connections.
- Lift the car safely if the starter is underneath. Use jack stands, never just a jack.
- Remove the protective boot at the starter and unbolt the cable from the starter solenoid stud. Keep track of the nut and any smaller wires on the same stud.
- Remove the cable from the car, freeing all clips.
- Route the new cable exactly like the old one, keeping it away from exhaust parts, steering shafts and moving belts.
- Connect the starter end first, refit any smaller wires, and replace the boot.
- Connect any branch connections to the fuse box or distribution block.
- Reconnect positive at the battery, then reconnect negative last.
- Start the car and check for normal cranking and no warning lights.
Why the routing matters
A positive cable that rubs against metal will eventually wear through and short to ground, which can start a fire. Factory clips and boots are there for that reason. Reuse them or replace them.
Replacing Just a Battery Cable End
If corrosion is limited to the last inch or two near the battery and the copper behind it is bright, a new cable end can work.
- Cut the cable back to clean copper.
- Strip about 1/2 to 3/4 inch of insulation.
- Crimp on a new lug with a proper crimper, or use a bolt-on terminal clamp.
- Seal with adhesive-lined heat shrink.
Avoid soldering alone; solder wicks up the strands and can crack from vibration. A good crimp, sealed, is the professional approach. If you would need to splice in extra length to reach, replace the cable instead.
Test the Repair
After the work, check that the cable is doing its job. Measure battery voltage while cranking. A healthy battery and cables usually hold above about 9.6 to 10 volts while cranking. If cranking is still slow, test the cable and ground connections for voltage drop.
| Symptom after replacement | Likely cause | What to check |
|---|---|---|
| Slow cranking persists | Weak battery or starter | Load test the battery; see how to test a car battery with a multimeter |
| Clicking with no crank | Loose starter stud or bad solenoid | Recheck nut and smaller trigger wire |
| Battery light on | Branch to alternator not reconnected | Check alternator B+ wire and fuse links |
| Settings or keys lost | Normal power loss reset | See radio code after battery change |
| Smoke or hot smell | Cable touching exhaust or shorting | Disconnect battery and reroute |
Model and Layout Differences
- Trucks and full-size SUVs: often have long positive cables, and diesels with two batteries have a cable linking the batteries. Replace that link cable with the same gauge.
- Cars with trunk or under-seat batteries: many BMW, Mercedes, Chrysler and some GM models run a long positive cable to a remote post under the hood. That cable is part of the safety system on some BMWs, with a pyrotechnic disconnect that fires in a crash. Replacement is usually a dealer or specialist job.
- Start-stop cars: the negative cable often includes a battery sensor. Buy the correct assembly and handle the sensor connector gently.
- Older domestic cars: side-post GM batteries use bolt-in cable ends; replacement cables are cheap and widely available.
Mistakes to Avoid
- Using thinner cable because it is cheaper or easier to route
- Leaving paint under a ground bolt, which creates a high-resistance ground
- Skipping the starter boot, which leaves a live stud exposed
- Forgetting smaller wires that share the starter stud or battery clamp
- Replacing only the positive cable when the ground is just as corroded
If you just installed a new battery, also check our guide on how to install a new car battery for the order of connections and any battery registration.
When to Call a Pro and Typical Costs
A replacement cable typically costs about $20 to $80 for a universal cable and more for an OE-style assembly with a fuse block or sensor. Shop labor often brings the total to about $100 to $300 for one cable, and more on vehicles where the starter is buried under the intake or exhaust. If you see melted insulation or signs of a short, have a shop inspect the wiring before driving.
Frequently Asked Questions
Look for swollen or cracked insulation, corrosion under the insulation, and slow cranking with a good battery. A voltage drop test while cranking confirms it.
Yes, on most cars. The negative cable is usually easy. The positive cable can take longer if it runs to a starter underneath the car.
Often yes. If one cable is badly corroded, the other has been in the same conditions and may be close behind.
If the copper is bright behind the corrosion, yes. Cut back, crimp on a new lug or clamp and seal it. If corrosion runs far up the cable, replace the cable.
Parts typically run about $20 to $80 per cable. A shop usually charges about $100 to $300 per cable including labor.