
Waterproof Key Fob Battery Replacement: Keep the Seal Intact

To replace a waterproof key fob battery, use a plastic pry tool to gently separate the casing without damaging the internal rubber gasket. Ensure the new battery is seated correctly with the proper polarity before snapping the case shut to maintain the weather-resistant seal.
Modern vehicle remotes are marvels of convenience, but their sophisticated electronics require protection from the elements. Many owners are surprised to find that their device is weather-sealed, requiring a delicate approach to battery maintenance. Whether you are handling a high-end fob or a standard proximity key, mastering a waterproof key fob battery replacement ensures your remote remains functional and protected against moisture.
- Use plastic tools: Avoid metal screwdrivers to prevent damaging the delicate plastic housing and seals.
- Protect the gasket: Inspect the rubber seal for wear before reassembling the remote housing.
- Check battery polarity: Ensure the battery faces the correct direction to avoid electrical shorts.
- Verify compatibility: Match your FCC ID and part number exactly to ensure the remote functions properly.
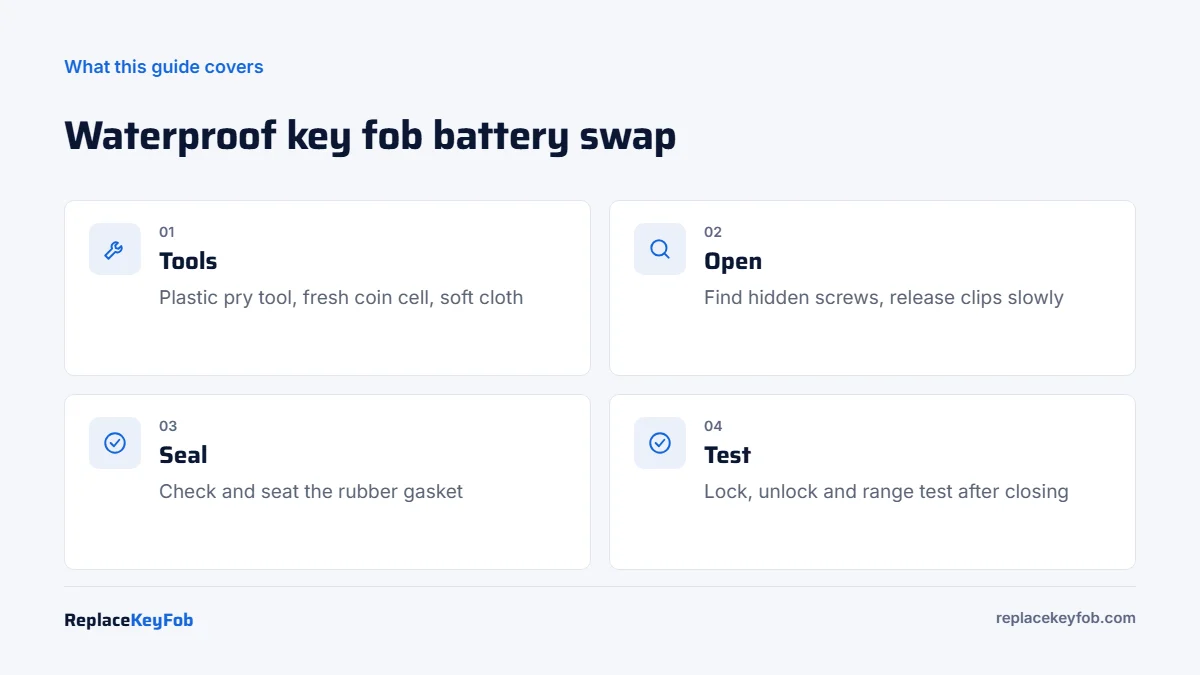
Understanding Waterproof Key Fob Construction and Seal Integrity
The Anatomy of a Weather-Resistant Remote
Unlike older plastic remotes that simply snapped together, modern waterproof fobs are engineered with precision. They typically feature a multi-piece housing held together by internal clips, specialized adhesives, or ultrasonic welding. Inside, you will find a rubber gasket or silicone O-ring designed to prevent water ingress from reaching the printed circuit board (PCB).
Why “Waterproof” Doesn’t Mean Indestructible
It is important to clarify that “waterproof” in the automotive world usually implies water resistance. Over time, the materials that provide this seal—such as the rubber gaskets—can degrade due to heat, UV exposure, and physical wear. When you open a sealed fob, you are breaking the factory-set barrier, which is why care during reassembly is critical to maintaining its protective properties.
Essential Tools and Preparation for Battery Replacement
- Plastic pry tool (avoid metal screwdrivers)
- Replacement coin-cell battery
- Microfiber cloth
- Optional: Silicone grease for gasket maintenance
Identifying Your Battery Type (CR2032 vs. CR2025)
Before you begin, you must verify the correct power source. While many remotes use a CR2032 vs CR2025 battery, the thickness and capacity differ slightly. Using the wrong size can prevent the case from sealing correctly, potentially leaving the internal circuitry exposed to humidity.
Gathering the Right Pry Tools to Prevent Case Damage
Never use a metal flathead screwdriver to pry open a sealed fob. Metal tools often chip the plastic edges, creating gaps that compromise the weather seal. Always use a dedicated plastic automotive pry tool to gently distribute pressure along the seam.
Verifying Compatibility: FCC ID and Vehicle Specifics
How to Locate Your FCC ID and Part Number
Before purchasing a replacement, always check the battery chart or the back of your current remote. Manufacturers use specific FCC IDs to denote frequency and security protocols. If you are replacing the entire unit rather than just the battery, matching these numbers exactly is non-negotiable.
Matching Your Year, Make, and Model to the Correct Internal Board
Even within the same vehicle brand, such as a Toyota battery replacement, sub-models and trim levels may use different key types. Always verify your specific model year and trim to avoid purchasing incompatible hardware.
Step-by-Step Guide: Safely Opening a Sealed Key Fob
Remove the mechanical emergency blade first, as many hidden release screws are tucked inside this compartment.
Gently insert your plastic pry tool into the seam, working slowly around the perimeter to release the internal clips without snapping the plastic housing.
Techniques for Breaking the Factory Adhesive Seal
Some fobs use a light adhesive to hold the two halves together. If you feel significant resistance, do not force it. Apply very light heat with a hair dryer for a few seconds to soften the adhesive, then try the pry tool again.
Removing the Battery Without Damaging Sensitive Circuitry
Once open, take note of the battery orientation. Use a non-conductive tool to slide the battery out of its clip. Avoid touching the gold contacts on the circuit board with your bare fingers, as oils from your skin can cause corrosion over time.
Maintaining the Waterproof Seal During Reassembly
Inspecting the Rubber Gasket and O-Rings
Before closing the case, inspect the rubber gasket for any signs of cracking or debris. If the gasket is pinched or flattened, it will no longer provide a waterproof seal. Wipe it down with a clean, dry cloth to remove any dust.
Applying Silicone-Based Sealants for Maximum Protection
If you find that the gasket is slightly worn, a tiny amount of silicone-based dielectric grease can help restore the seal. Apply a very thin layer—a little goes a long way—to ensure the two halves snap together tightly without moisture gaps.
Avoiding Common Mistakes That Kill Your Key Fob
Do not over-tighten screws. Plastic housings are prone to stress fractures, which can ruin the structural integrity of your remote.
Static Electricity and Moisture Contamination Hazards
Static electricity can damage sensitive transponder chips. Always work on a clean, non-carpeted surface. Before handling the internals, touch a grounded metal object to discharge any static buildup from your body.
Programming Limits and When to Call the Professionals
Programming a smart key or transponder often requires specialized equipment. If your vehicle fails to recognize the key after a battery swap, do not attempt to force a sync.
Identifying When a Battery Swap Requires a Dealer Re-Sync
In most cases, a simple battery swap does not require re-programming. However, if the battery was dead for an extended period, the internal memory might reset. If the car does not start, contact a professional to avoid an immobilizer lockout.
Signs Your Remote Needs a Locksmith Instead of a Battery
If you have replaced the battery and the remote still fails to work, you may be dealing with a faulty PCB or a broken antenna. At this point, it is time to seek help from a qualified automotive locksmith.
Final Recap: Ensuring Longevity After Your DIY Repair
Testing Remote Range and Button Responsiveness
Test the remote from a few different distances. If the range is significantly shorter than before, double-check that the battery is seated flat and the case is fully snapped together. A loose case often results in poor signal transmission.
Periodic Maintenance Tips for Harsh Environments
If you live in a humid or coastal environment, inspect your key fob once a year. Keeping the exterior clean and ensuring the mechanical key is free of debris will help keep your fob working reliably for years to come.
Frequently Asked Questions
Yes, you can perform a DIY replacement, but you must be careful not to damage the internal rubber gasket. Using the correct tools, such as a plastic pry tool, is essential to maintaining the seal.
Most modern proximity keys have a rubber gasket or O-ring inside the casing. If you see a silicone seal when opening the fob, it is designed to be water-resistant.
In most cases, a simple battery swap does not require reprogramming. However, if the vehicle fails to recognize the key, you may need a dealer or locksmith for a re-sync.
First, verify the battery orientation and ensure it is the correct size. If it still fails, the internal circuit board may be damaged or require professional diagnostic attention.
Avoid using metal screwdrivers as they can easily damage the plastic housing. A plastic pry tool is the safest way to prevent case deformation and seal damage.
Contact a locksmith if you have lost all keys or if the remote remains unresponsive after a fresh battery installation. They have the tools to handle complex immobilizer issues and security systems.