
How to Adjust a Car Door Striker Plate

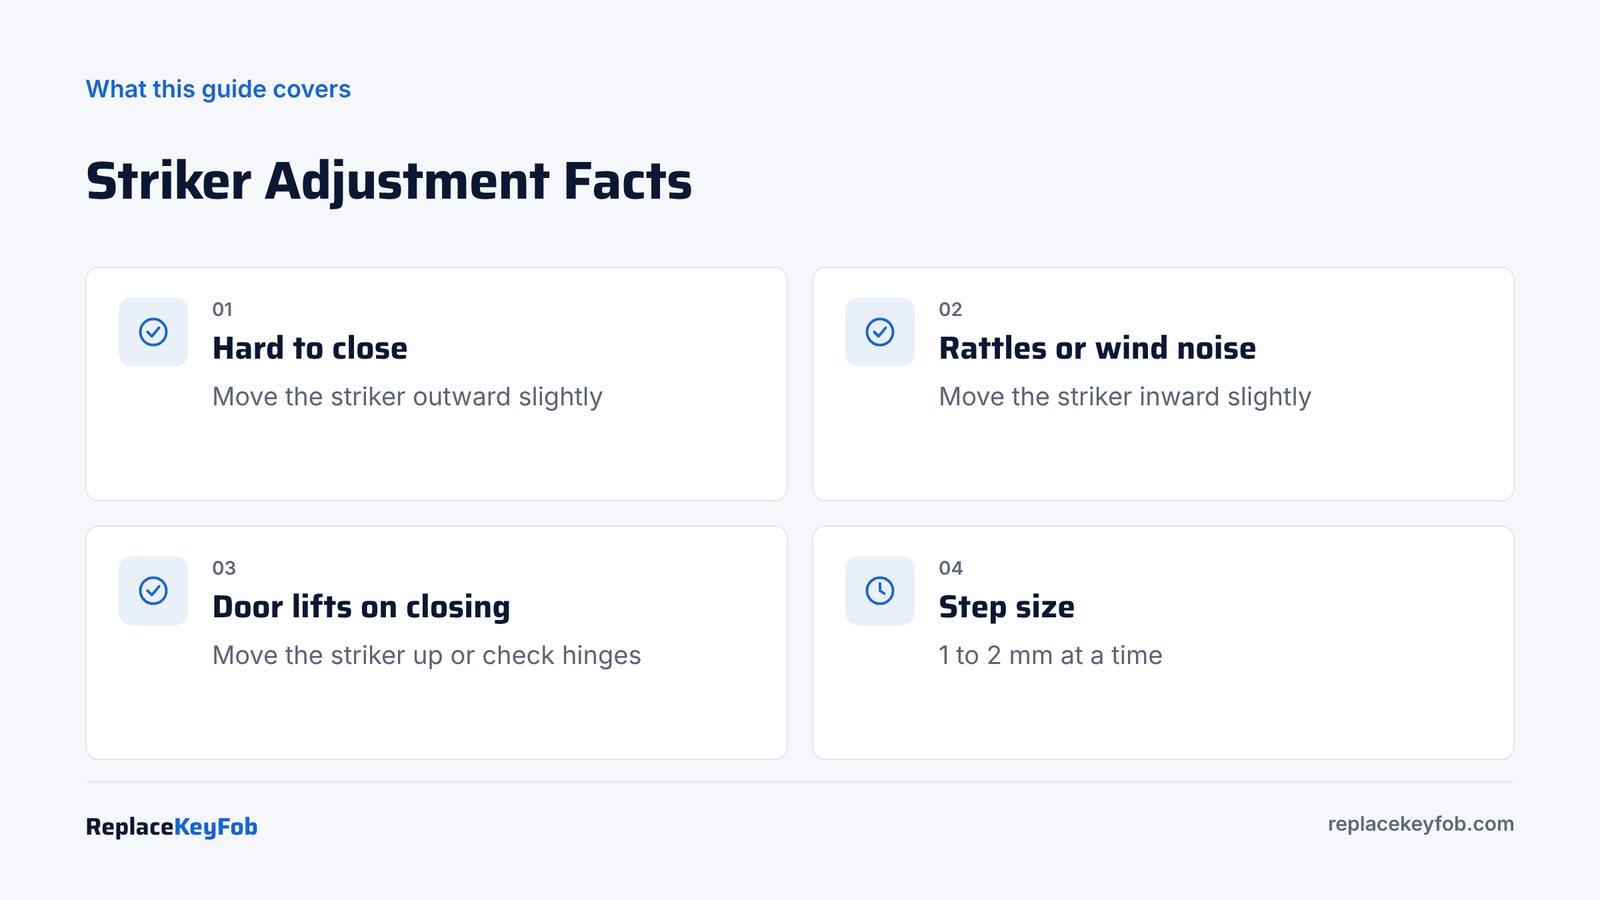
To adjust a car door striker plate, mark its outline with tape, loosen the bolts slightly, then tap it 1 to 2 mm: outward if the door is hard to close, inward if it rattles or lets in wind. Tighten firmly, close the door gently to test, and repeat in small steps.
The striker is the U-shaped steel loop or bolt on the door pillar that the latch grabs when the door closes. It is attached with two or three bolts through slotted holes or a floating plate, so it can be moved slightly. A few millimeters in or out changes how hard the door closes, whether it rattles, and how tightly the seal presses.
It is a simple adjustment, but small changes have big effects. The key is to move it in tiny steps, one direction at a time, and to make sure the problem is really the striker and not a dirty latch or worn hinges.
What the Striker Actually Does
When you close the door, the latch claw on the door edge hits the striker loop and rotates around it. A pawl inside the latch drops into a notch on the claw and holds it. Most latches have two notches: the first click is a safety position that keeps the door from swinging open, and the second click is full latch, where the door seal is compressed and the door sits flush.
The striker’s position decides how far the door has to travel, and how hard the seal has to be squeezed, before the claw reaches that second click. That is why a small move changes so much. Move it out and the door reaches full latch with less seal squeeze. Move it in and the door is pulled tighter. Move it up or down and you change whether the claw meets the striker in the center or rubs on one side.
When to Adjust the Striker
| Symptom | Which way to move the striker |
|---|---|
| Door must be slammed to latch | Outward (away from the car) |
| Door rattles over bumps | Inward (toward the car) |
| Wind noise from the rear door edge | Inward |
| Door rear edge sits proud of the body | Inward |
| Door rear edge sits below flush | Outward |
| Door lifts up as it closes | Down slightly, or check hinges |
| Door drops as it closes | Up slightly, but check hinges first |
| Latch clunks and the door shifts on closing | Up or down to center the latch on the striker |
Before adjusting, clean and grease the latch. A stiff latch makes a door feel like it needs slamming even with a perfectly placed striker. Our guide on how to lubricate car door locks covers that in ten minutes.
Check the Hinges First
Open the door halfway, hold the rear edge and lift gently. Noticeable up-and-down play means the hinge pins or bushings are worn. A sagging door drops onto the striker as it closes. Fix the hinges first; moving the striker to chase a sag will wear the latch and the problem will return.
Tools You Need
- A Torx bit socket or hex socket that fits the striker bolts (often a large Torx such as T45 or T50 on many cars; some use hex heads)
- A breaker bar or long ratchet, because striker bolts are tight
- Painter’s tape and a marker
- Lipstick, dry-erase marker or a dab of grease to check latch contact
- A rubber mallet or a wooden block and hammer
- A ruler or feeler gauge for checking gaps
Torx bit socket set
A set of impact-rated Torx bit sockets with a 3/8 or 1/2 inch drive covers most door striker bolts. Make sure the set includes the larger sizes.
As an Amazon Associate, ReplaceKeyFob earns from qualifying purchases.
How to Read Where the Latch Hits
Before you move anything, find out what the latch is doing.
- Clean the striker loop with a rag.
- Smear a thin layer of lipstick, dry-erase ink or grease on the striker.
- Close the door gently until it latches, then open it.
- Look at the latch jaw. The mark shows where the striker entered.
If the mark sits in the center of the jaw, up-down position is good. If it is high or low, move the striker the opposite way. A heavy mark on one side of the striker also shows rubbing in that direction.
Step-by-Step: Adjust the Car Door Striker
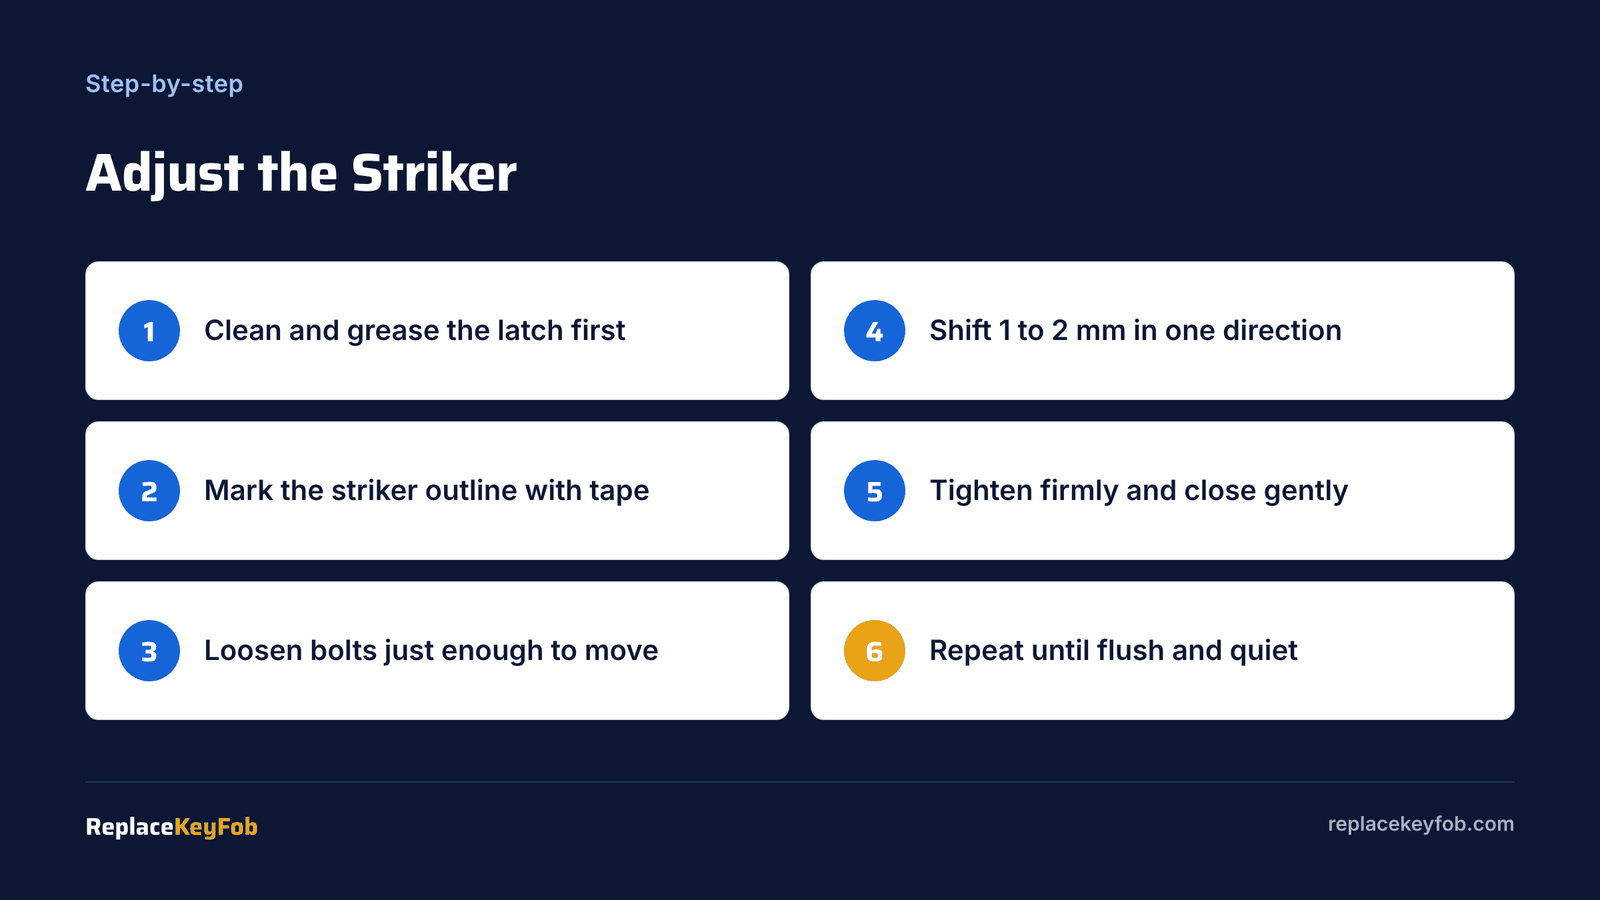
- Mark the starting position. Put painter’s tape around the striker plate and trace its outline with a marker. If you go too far, you can always return to the original spot.
- Loosen the bolts slightly. Loosen each bolt about a quarter to half a turn, just enough that the striker can be tapped with some resistance. If it moves freely, it will slip when you close the door and you will lose your adjustment.
- Move it 1 to 2 mm. Tap the striker in one direction with a rubber mallet, or with a wooden block and hammer. For in-out adjustment, tap toward or away from the car. For up-down, tap vertically.
- Tighten firmly. Snug the bolts fully. Use the torque in the service information if you have it. Do not leave them loose for testing.
- Close gently to test. Close the door with a normal, gentle push. It should latch fully to the second click without a slam. Check that the rear edge is flush with the body and the gaps are even.
- Repeat in small steps. Make one small adjustment at a time and test each one.
Why small steps matter
A 1 mm move at the striker can change the rear door edge position by more than 1 mm, and it also changes how much the door seal is squeezed. Big moves can make the door hard to close, misalign the body line, or cause the latch to hit the striker hard and wear quickly.
Test Your Adjustment
- Paper test: close the door on a strip of paper at several points along the rear edge. You should feel the paper drag when you pull it. If it slides out with no resistance, the seal is not tight enough there; move the striker inward slightly.
- Flush check: run your hand across the joint between the door and the rear quarter or rear door. It should feel flush.
- Noise check: drive on a rough road with the radio off. Rattles from the door rear edge mean the striker needs to come in a little.
- Lock check: lock and unlock with the fob. The door should not shift when the latch moves.
Variations by Vehicle
- Rear doors: the striker is on the C-pillar. Same process; check alignment with the rear quarter panel.
- Sliding van doors: there are front and rear strikers plus a lower guide. Adjust carefully; changes affect the power door’s closing force.
- Tailgates and liftgates: one striker at the bottom center. Adjust to stop rattles or to make the gate close without slamming.
- Frameless doors: the window seal also matters. Striker changes can affect how the glass meets the roof seal.
- Older trucks: strikers often have shims or spacers behind them. You may need to add or remove a shim for in-out changes.
Troubleshooting
| After adjusting | What to do |
|---|---|
| Door now harder to close | Move striker outward 1 mm |
| Door latched but rattles | Move striker inward 1 mm |
| Door lifts or drops on closing | Recheck latch mark, adjust up or down, check hinges |
| Door will not latch at all | Return to the taped outline and start again |
| Door ajar light on | Striker may be too far out for the latch to reach full latch |
| Fob will not lock the car | Door not fully latched; see why a key fob unlocks but won’t lock |
If the door does not latch at all, the latch claw may be stuck closed. Our guide on fixing a car door that won’t close shows how to reset it.
Mistakes to Avoid
- Loosening bolts too much. The striker will move during testing and you lose track.
- Making big moves. Stay at 1 to 2 mm.
- Compensating for hinge sag. Fix the hinges.
- Skipping the latch cleaning. You may adjust a striker that was never the problem.
- Using a steel hammer directly on the striker. It can mushroom the loop. Use a rubber mallet or a wooden block.
- Stripping the bolt heads. Use the correct bit, seat it fully and use steady force.
When to Call a Pro
If the door has been in a collision, the gaps are uneven around the whole door, or the hinges are worn, take it to a body shop. A shop striker adjustment typically costs about $50 to $120 in 2026, door hinge pin and bushing replacement about $150 to $350 per door, and a full door alignment after collision damage can run several hundred dollars. If the latch also needs replacing, see how to open a car door with a broken latch for how latch failures behave.
Frequently Asked Questions
Move it outward, away from the car, by 1 to 2 mm. This lets the door latch earlier with less seal compression.
Move the striker inward, toward the car, by about 1 mm at a time. This pulls the door tighter against its seal.
Many cars use large Torx bolts, often T45 or T50, while others use hex heads. Check your striker before buying a bit.
No. The bolts are tight and need a proper Torx or hex socket and a breaker bar. Using the wrong bit strips them.
Often, yes, if the noise comes from the rear edge of the door. Moving the striker inward presses the seal tighter. If noise comes from the top, the window seal or door frame may need work.