How to Mount Budget Dash Cam for Easy Setup and Safety
Mount a budget dash cam high and centered behind the rearview mirror, then route the cable safely away from airbags and controls. Clean the glass first, test the recording, and adjust the angle before you drive.
- Placement matters: High, centered mounting usually gives the cleanest road view.
- Prep first: Clean glass helps cheap adhesive mounts hold better.
- Safety comes first: Keep cables away from airbags and driver controls.
- Test before driving: Verify angle, recording, and memory card readiness.
Frequently Asked Questions
Most dash cams do not use a battery for primary power, so the key question is the vehicle connection method. The mount matters more than the internal battery because stable placement affects footage quality and heat resistance.
If it blocks your view or shows too much dashboard, it is too low. If the camera is hidden in the headliner or misses the road ahead, it is too high.
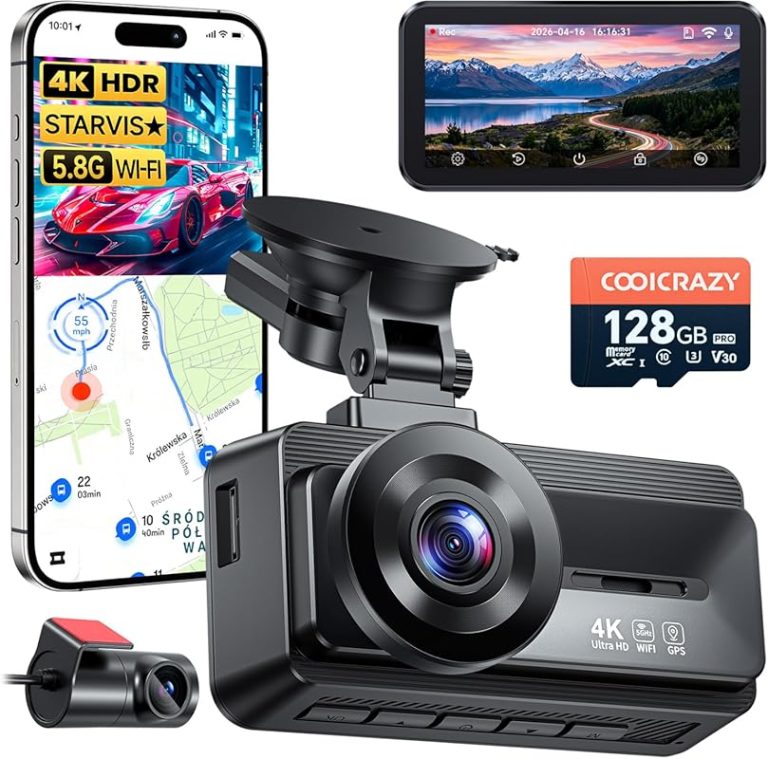
Yes, but suction mounts can be easier to reposition and sometimes less stable in heat. Adhesive mounts are usually better for a compact, low-profile install if the glass is clean.
Check the camera model, connector type, cable length, and whether the mount matches your unit’s bracket. Return policy and seller reputation also matter because budget accessories vary widely.
Not always, but hardwiring can involve fuse access and careful routing near airbags or trim. If you are unsure, a qualified technician is the safer choice.
Usually no, because dash cam mounting is a camera and power-routing job, not an engine-code diagnosis. If you are dealing with electrical faults, airbag warnings, or security issues, contact a qualified technician.