
How to Check an EVAP Leak With an OBD2 Scanner

Quick Answer
You can check for an EVAP leak with an OBD2 scanner by reading diagnostic trouble codes, checking freeze-frame data, and reviewing the evaporative emissions monitor status. Codes such as P0442 and P0455 suggest different leak sizes, but a code alone cannot pinpoint the leak location. For a more reliable diagnosis, combine scan results with a visual inspection and, when necessary, an EVAP smoke test.
Steps to check an EVAP leak
- Connect the scanner: Plug an OBD2-compatible scanner into the vehicle’s diagnostic port.
- Read trouble codes: Look for EVAP-related codes, including P0440, P0442, P0455, and P0456.
- Save the data: Record pending codes, stored codes, and freeze-frame information before clearing anything.
- Check readiness: Find out whether the EVAP monitor is ready, incomplete, or reporting a failure.
- Inspect likely causes: Check the fuel cap, accessible vapor hoses, and visible connections for damage.
- Confirm the leak: Use a suitable EVAP smoke machine or a qualified technician if the scanner cannot identify the source.
Important diagnostic tip
- A generic scanner can read many common EVAP codes, but active valve tests and manufacturer-specific data may require a more advanced scan tool.
An EVAP leak can trigger the check engine light even when your car seems to run normally. An OBD2 scanner helps you understand what the vehicle’s computer has detected before you spend money replacing parts.
In this guide, I’ll explain how to read EVAP codes, interpret the scanner’s results, and decide when you need additional testing. I’ll also cover common diagnostic mistakes that can lead to unnecessary repairs.
In This Guide
What Is an EVAP Leak?
An EVAP leak is an opening or sealing problem in a vehicle’s evaporative emissions control system that allows fuel vapor to escape instead of being contained and managed by the system. The onboard computer monitors the system for certain leaks and operating faults.
The EVAP system is designed to capture gasoline vapors and route them into the engine for combustion under suitable operating conditions. It typically includes a fuel cap, vapor lines, a charcoal canister, purge and vent valves, and pressure-monitoring components.
What happens when the system develops a leak?
The engine control module may detect a leak, an incorrect pressure response, or a problem with vapor flow. If its diagnostic conditions are met, it can store a diagnostic trouble code (DTC) and illuminate the check engine light.
Common signs include:
- A check engine light with an EVAP-related code.
- A noticeable gasoline-vapor smell around the vehicle.
- Difficulty filling the tank in some cases, particularly when a venting problem exists.
- An emissions inspection failure related to stored codes or incomplete readiness monitors.
Some EVAP faults cause no obvious driving symptoms. A small vapor leak may leave engine performance unchanged while still triggering a warning.
For background on onboard emissions diagnostics, consult the U.S. Environmental Protection Agency, which provides information about vehicle emissions and regulatory requirements.
What Do You Need Before Checking an EVAP Leak?
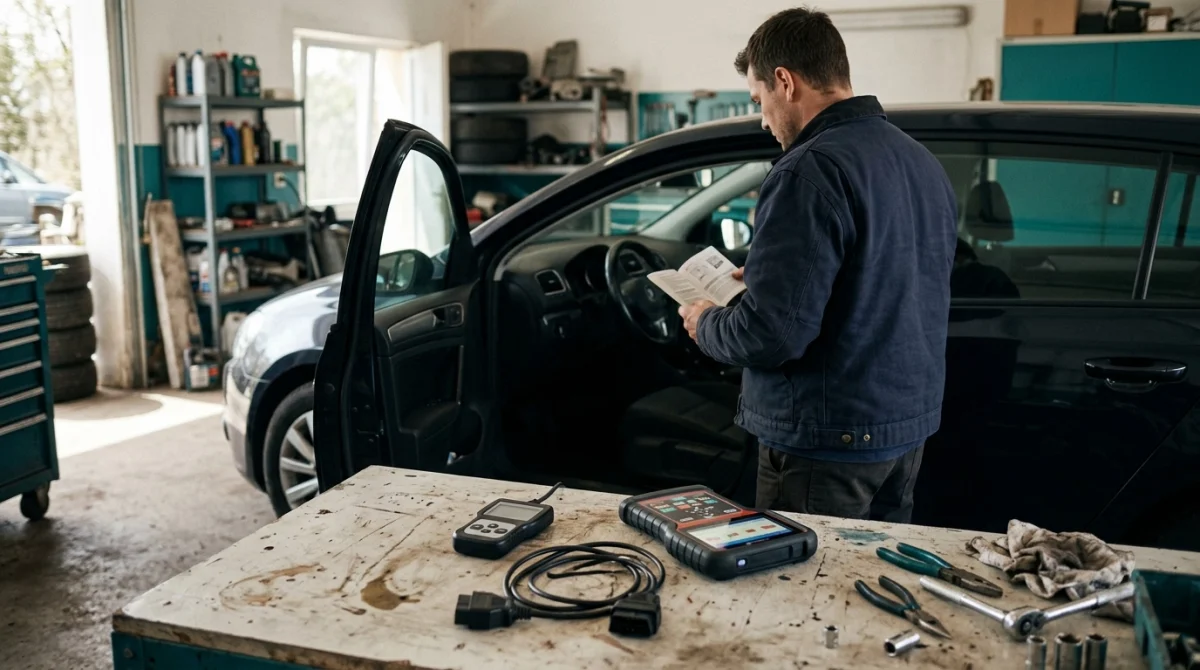
You can begin with a basic OBD2 scanner, but the information available depends on the tool and the vehicle. Start with code reading before purchasing diagnostic equipment or replacing components.
Choose a scanner with the right functions
- Basic code reader: Reads and clears many generic powertrain codes, including common EVAP codes.
- Enhanced OBD2 scanner: May show pending codes, freeze-frame data, readiness monitors, and additional live data.
- Bidirectional scan tool: Can command certain purge or vent valves and run supported system tests on compatible vehicles.
A scanner’s advertised features don’t guarantee support for every manufacturer-specific EVAP test. Check compatibility with your vehicle’s make, model, year, and engine.
Prepare the vehicle safely
Before connecting your scanner, park in a well-ventilated area and follow the vehicle manufacturer’s diagnostic precautions. Keep flames, cigarettes, sparks, and other ignition sources away from gasoline vapors.
You’ll also want to have the following information available:
- The vehicle’s make, model, year, and engine type.
- The exact trouble codes and their status.
- Any recent fuel-cap replacement, battery disconnection, or emissions-system repair.
- The symptoms you noticed and when they began.
Locksmith’s note: Just as vehicle identification matters when verifying key fob compatibility, make, model, year, and engine details matter when selecting the correct diagnostic procedure. Never assume every vehicle uses the same test conditions.
How to Check an EVAP Leak With an OBD2 Scanner
The most useful starting point is to read the vehicle’s diagnostic information without erasing it. The scanner can identify the type of fault the computer recorded, although further testing may be needed to locate its cause.
Step 1: Connect the OBD2 scanner
- Locate the vehicle’s diagnostic link connector, usually beneath the dashboard.
- With the vehicle safely parked, connect the scanner to the port.
- Switch the ignition to the position required by the scanner and vehicle instructions.
- Allow the scanner to establish communication with the engine control module.
Some tools communicate as soon as you connect them, while others require the ignition to be switched on. Follow the scanner’s instructions instead of guessing at a particular ignition sequence.
Step 2: Read stored and pending codes
Open the diagnostic or fault-code menu and select the engine or powertrain module. Record all stored and pending codes, including any codes that appear unrelated to EVAP.
A stored code indicates that the computer has recorded a fault. A pending code can indicate that a fault has been detected but hasn’t yet met the conditions for confirmation.
Don’t clear the codes immediately. Erasing them can remove useful diagnostic information and reset emissions readiness monitors.
Step 3: Review freeze-frame data
Freeze-frame data captures selected operating conditions around the time a fault was recorded. Depending on the vehicle and scanner, it may include engine temperature, engine speed, vehicle speed, and fuel-related readings.
Use this information to understand the conditions associated with the fault. It doesn’t necessarily show the exact moment or physical location of a leak.
Step 4: Check the EVAP readiness monitor
Open the scanner’s I/M readiness or emissions-monitor menu and locate the EVAP monitor. Its status helps you understand whether the computer has completed the relevant self-test.
- Ready: The monitor has completed its applicable test, but you must still interpret any stored or pending codes.
- Not ready: The monitor hasn’t completed its test, so a clean code screen doesn’t rule out an EVAP problem.
- Unsupported: The vehicle or scanner doesn’t report that monitor through the available interface.
The EVAP monitor may need specific fuel levels, temperatures, and driving conditions before it runs. Recent battery disconnection or code clearing can also leave it incomplete.
Step 5: Review available live data or active tests
If your scanner supports enhanced EVAP diagnostics, review relevant data such as fuel-tank pressure, purge command, vent command, and fuel level. Availability and naming vary by manufacturer.
A bidirectional tool may let you command a purge or vent valve and observe the system’s response. These tests require vehicle-specific procedures and correct interpretation of the data.
Don’t assume a valve has failed simply because a displayed reading looks unusual. Wiring faults, sensor problems, blocked passages, and incorrect test conditions can produce misleading results.
Section Takeaway: Record the codes, freeze-frame data, and monitor status before changing anything. An OBD2 scanner narrows the diagnosis; it doesn’t automatically identify the failed part.
How to Interpret Common EVAP Trouble Codes
EVAP codes describe a detected system fault or a particular type of malfunction, but they don’t all mean a physical vapor leak. The exact definition and diagnostic direction should be checked against service information for the specific vehicle.
The following table summarizes common generic codes. Manufacturer-specific definitions and diagnostic details can differ.
| Code | General meaning | What to investigate |
|---|---|---|
| P0440 | EVAP system malfunction | System sealing, valves, hoses, and control operation |
| P0442 | Small EVAP leak detected | Fuel-cap seal, vapor lines, and other sealing points |
| P0455 | Large or gross EVAP leak detected | Loose or missing cap, disconnected hose, or a larger system leak |
| P0456 | Very small EVAP leak detected | Small sealing defects or leaks requiring specialized testing |
| P0457 | EVAP leak detected, often associated with a loose or missing fuel cap | Cap installation, seal condition, and related system faults |
| P0443 | EVAP purge control valve circuit fault | Valve wiring, electrical connections, and circuit operation |
| P0446 | EVAP vent control circuit or system performance fault, depending on application | Vent valve, wiring, restrictions, and manufacturer-specific test results |
Does a leak code mean the gas cap is bad?
No. A loose, damaged, or incorrect fuel cap is a sensible first inspection point, but other components can cause similar codes.
Check whether the cap fits correctly and whether its seal shows visible damage. If the cap is faulty, replace it with the correct specification rather than assuming a universal cap will fit.
What if the scanner shows no EVAP codes?
No displayed code doesn’t prove the system is leak-free. The fault may be intermittent, the monitor may not have run, or the scanner may not show all available manufacturer-specific information.
Check readiness status and pending codes, then consider whether the vehicle has completed the conditions needed to run its EVAP self-test. If the warning persists, additional diagnosis may be necessary.
Diagnostic tip: Verify the code definition and testing procedure using reliable service information before replacing an EVAP valve, pressure sensor, or canister.
How to Find and Confirm the Leak

After reading the scanner, the next step is to determine whether the problem comes from a leak, a faulty valve, an electrical issue, or an incomplete diagnostic test. A visual inspection may reveal the cause, but small leaks often require specialized equipment.
Start with a visual inspection
With the vehicle safely parked and the engine off, inspect accessible components without disconnecting fuel lines or disturbing pressurized systems.
- Fuel cap: Look for a damaged seal, cracks, incorrect fit, or signs that the cap hasn’t seated properly.
- EVAP hoses: Check accessible vapor lines for splits, loose connections, and obvious damage.
- Charcoal canister: Look for visible damage or disconnected lines where the component is safely accessible.
- Electrical connectors: Look for loose plugs, damaged insulation, or corrosion around accessible valve connections.
Don’t crawl under a vehicle supported only by a jack. If an inspection requires access underneath the car, use properly rated support equipment or have a technician inspect it.
Use an EVAP smoke test when needed
An EVAP smoke test introduces approved diagnostic smoke into the system under controlled conditions. Smoke escaping from a connection, hose, or seal can help reveal the leak’s location.
This test is particularly useful for small leaks that cannot be identified visually. It may also help confirm whether a suspected component is leaking rather than merely producing an unusual scan reading.
Use only equipment and procedures approved for the vehicle’s EVAP system. Never introduce ordinary compressed air or an improvised smoke source into the fuel-vapor system, because unsuitable pressure or ignition sources can create serious hazards.
Compare scanner testing with a smoke test
| Diagnostic method | What it tells you | Main limitation |
|---|---|---|
| Basic OBD2 scan | Stored codes and reported fault categories | Usually cannot pinpoint the physical leak |
| Enhanced scan data | Available pressure readings, monitor status, and valve commands | Depends on vehicle and tool support |
| Visual inspection | Visible damage, loose connections, and cap problems | Hidden or tiny leaks may remain undetected |
| EVAP smoke test | Can reveal the physical location of a leak | Requires suitable equipment and safe procedures |
Professional diagnostic equipment may also perform an automated EVAP leak test or activate valves while monitoring pressure changes. These functions are especially helpful when the code points toward a control problem rather than a straightforward leak.
For an overview of these diagnostic methods, see Snap-on’s automotive diagnostic resources.
Section Takeaway: Use the scanner to identify the fault category and a smoke test to help locate a physical leak. Confirm the underlying cause before replacing parts.
Common Mistakes and What to Do Next
Most EVAP diagnostic mistakes happen when a driver treats a trouble code as a direct instruction to replace a particular part. A better approach is to preserve the evidence, inspect simple causes, and confirm the fault before making repairs.
Mistake 1: Clearing the code too early
Clearing codes before recording them can remove useful diagnostic information and reset readiness monitors. Save the code numbers, status, and available freeze-frame data first.
After a repair, clear codes only when appropriate and follow the manufacturer’s verification procedure. The EVAP monitor may need suitable driving conditions before it completes another test.
Mistake 2: Replacing parts based on the code alone
A P0442 code does not automatically mean the fuel cap is defective, and a P0455 code does not identify a specific broken hose. Several different faults can produce similar system-level warnings.
Check the fuel cap and accessible hoses first, then use vehicle-specific diagnostics to narrow the cause. Replace a valve, sensor, or canister only when the available evidence supports that decision.
Mistake 3: Assuming an incomplete monitor means a leak
An EVAP monitor marked “not ready” means the test hasn’t completed. It does not independently confirm a leak or prove that the system has passed.
Allow the vehicle to meet the manufacturer’s required test conditions and check readiness again. Don’t rely on a generic drive-cycle recipe because the conditions vary by vehicle.
Mistake 4: Ignoring fuel-vapor smells
A strong gasoline smell or visible liquid fuel leak deserves more attention than a routine small-leak code. Park away from ignition sources and arrange professional inspection if the smell persists or a fuel leak is suspected.
Don’t continue driving a vehicle with a suspected active fuel leak simply because the scanner shows an EVAP-related code. A diagnostic code cannot establish that the vehicle is safe to operate.
When should you visit a mechanic?
Consider professional diagnosis when:
- The same EVAP code returns after a verified repair.
- The leak is too small to locate through visual inspection.
- The scanner reports a valve circuit or pressure-sensor fault.
- The vehicle requires manufacturer-specific active tests.
- You notice a strong fuel smell, visible fuel leakage, or repeated refueling difficulties.
Expert tip: Ask the technician to explain which test confirmed the fault. A diagnosis based on measured pressure response, circuit testing, or visible smoke is more useful than a parts recommendation based on a code alone.
Section Takeaway: Diagnose first and replace parts second. If the scan results don’t identify a clear cause, a qualified technician can use enhanced diagnostics and an EVAP-safe smoke test to confirm the problem.
Frequently Asked Questions
Can a basic OBD2 scanner detect an EVAP leak?
Yes, a basic OBD2 scanner can read many stored and pending EVAP-related trouble codes. However, it usually cannot identify the exact location of a leak. Enhanced scan data, a suitable active test, or an EVAP smoke test may be needed to confirm the source.
What OBD2 code indicates a small EVAP leak?
P0442 commonly indicates a small EVAP leak, while P0456 commonly indicates a very small leak. These codes describe the fault category detected by the vehicle’s diagnostic system, not the exact failed component. Check the manufacturer’s code definition and diagnostic procedure before replacing parts.
Can I check an EVAP leak without a smoke machine?
Yes. You can read the codes, review freeze-frame data, inspect the fuel cap, and check accessible hoses and connections without a smoke machine. However, a small or hidden leak may not be visible. A properly performed smoke test can help locate leaks that a basic inspection misses.
Will an EVAP leak affect engine performance?
Many small EVAP leaks cause no noticeable change in how the engine runs. Some faults, particularly those involving a purge valve stuck open, can contribute to rough idling, hard starting after refueling, or stalling. The actual symptoms depend on the fault and vehicle design.
Should I clear the EVAP code after tightening the gas cap?
First, record the original code and confirm that the cap fits and seals correctly. Follow the vehicle manufacturer’s procedure for clearing codes and verifying the repair. Some vehicles turn off the warning only after the relevant monitor completes its test, so an immediate change isn’t guaranteed.
Why does my EVAP monitor say “not ready” after clearing codes?
Clearing diagnostic codes can reset emissions readiness monitors. The vehicle then needs to meet its particular operating conditions before the EVAP system completes its self-test. Until the monitor runs, the absence of a new code doesn’t establish that the system is leak-free.
Can I drive with an EVAP leak code?
A small EVAP fault may not noticeably affect drivability, but the code alone cannot establish that the vehicle is safe. Take gasoline odors, visible fuel leaks, or other unusual symptoms seriously. If you suspect an active fuel leak, stop driving and arrange professional assistance.
Final Takeaway: Use Your OBD2 Scanner to Narrow Down the EVAP Leak
Checking an EVAP leak with an OBD2 scanner starts with reading the codes, saving freeze-frame data, and checking the EVAP readiness monitor. These steps help you understand what the vehicle has detected without immediately replacing parts.
Next, inspect the fuel cap and accessible vapor hoses, then use enhanced scan-tool functions or a suitable smoke test when necessary. The goal is to identify and confirm the underlying fault, not simply erase the warning light.
If your scanner displays a code such as P0442, P0455, or P0456, record the exact code and your vehicle’s make, model, year, and engine. That information provides a much stronger starting point for choosing the correct diagnostic procedure.
