
How to Fix P0135 Without Replacing the Wrong O2 Sensor

To fix P0135, confirm the code, inspect the Bank 1 Sensor 1 oxygen sensor connector, test the heater fuse, check heater voltage, measure heater resistance, repair damaged wiring, then replace the oxygen sensor only if the heater element fails testing. P0135 points to the upstream O2 sensor heater circuit, not always the sensor itself. :contentReference[oaicite:0]{index=0}
- Scan the car first.
- Find Bank 1 Sensor 1.
- Check wiring and connector pins.
- Test the heater fuse.
- Measure heater resistance.
- Clear the code and retest.
You see P0135 on your scan tool, and the first thought is simple: replace the oxygen sensor.
That fix can work, but it can also waste money when the real fault sits in a fuse, connector, ground, or heater power wire. This takes about 8 minutes to read.
P0135 means the engine control module sees a fault in the heated oxygen sensor circuit for Bank 1 Sensor 1. The sensor sits before the catalytic converter and helps the engine enter closed-loop fuel control sooner after startup. :contentReference[oaicite:1]{index=1}
Key takeaway: Fix P0135 like an electrical fault first. Replace the O2 sensor only after the heater circuit fails a direct test.
1. What P0135 Means in Plain English
P0135 means the upstream oxygen sensor heater circuit on Bank 1 has a fault. Bank 1 means the engine side with cylinder 1.
Sensor 1 means the oxygen sensor before the catalytic converter. This sensor checks exhaust oxygen so the PCM can adjust fuel delivery during warm-up and normal driving.
The heater inside the sensor warms the sensor faster than exhaust heat alone. New York’s OBD inspection reference says heated oxygen sensors can reach operating temperature in about 20 to 60 seconds, depending on the sensor. NYVIP3 oxygen sensor heater monitor guide :contentReference[oaicite:2]{index=2}
| Term | Meaning | Why it matters |
|---|---|---|
| P0135 | O2 heater circuit fault | Points to an electrical heater problem |
| Bank 1 | Side with cylinder 1 | Helps locate the correct sensor |
| Sensor 1 | Upstream sensor | Sits before the catalytic converter |
| PCM or ECM | Engine computer | Controls and checks the heater circuit |
The table shows why guessing fails. P0135 names a circuit, so the correct fix starts with circuit checks.
2. Common P0135 Causes You Should Check First
P0135 often comes from high resistance, an open heater element, a shorted circuit, damaged wiring, or a poor connector. AutoZone lists heater resistance, internal heater faults, and wiring faults as common causes. :contentReference[oaicite:3]{index=3}
The sensor fails often because it lives in heat, water, salt, and vibration. The connector also fails because it sits close to the exhaust pipe.
Start with the simple causes before buying parts. A blown fuse or green corrosion inside a connector can set the same code as a failed sensor.
- Failed Bank 1 Sensor 1 heater element
- Blown oxygen sensor heater fuse
- Loose or melted sensor connector
- Corroded pins inside the plug
- Open heater power wire
- Short to ground near hot exhaust
- Weak PCM heater control circuit
The most missed cause is a damaged connector. A new oxygen sensor will not fix P0135 when the harness side plug has loose pins.
Warning: Let the exhaust cool before touching the oxygen sensor. Upstream sensors sit near the exhaust manifold and can burn skin fast.
3. How to Fix P0135 Step by Step
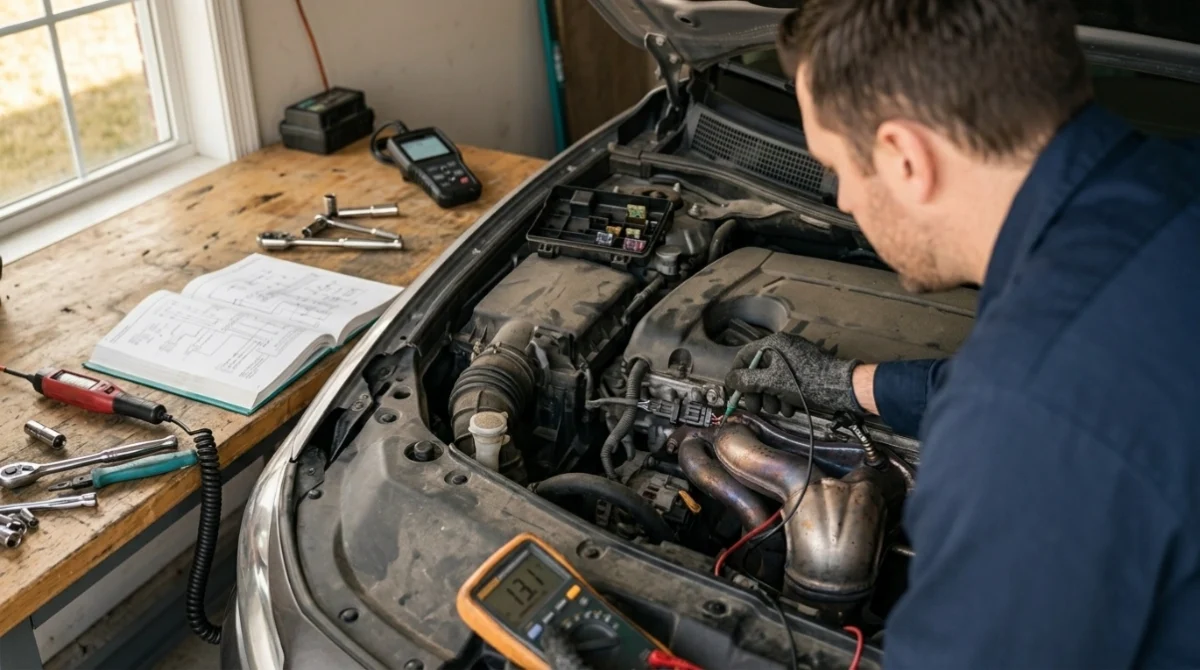
Fix P0135 by testing the heater circuit in order. This keeps you from replacing a good oxygen sensor.
You need an OBD2 scanner, a digital multimeter, basic hand tools, safety gloves, and the vehicle repair manual. The repair manual matters because heater wire colors and resistance specs change by model.
- Scan the car and confirm P0135.
- Check for related codes first.
- Locate Bank 1 Sensor 1.
- Inspect the sensor connector and nearby harness.
- Check the O2 heater fuse.
- Test heater voltage and ground.
- Measure heater resistance at the sensor.
If the sensor heater resistance falls outside the factory range, replace the oxygen sensor. If resistance passes, repair the power, ground, connector, or control side fault.
Step 1: Confirm P0135 and Check Related Codes
Scan the vehicle before touching parts. Write down P0135 and every other stored or pending code.
Related codes can change the repair path. P0030, P0130, P0133, P0141, P0155, and fuel trim codes can point to broader sensor, heater, or wiring issues.
Clear the code only after saving freeze-frame data. Freeze-frame data shows engine temperature, voltage, and speed when the fault set.
Step 2: Locate Bank 1 Sensor 1 Correctly
Bank 1 Sensor 1 sits before the catalytic converter on the cylinder 1 side. On a four-cylinder engine, Bank 1 is the only bank.
On V6, V8, flat, and W engines, Bank 1 and Bank 2 sit on different sides. Use the firing order or repair manual before removing any sensor.
You might think the easiest sensor to reach is the right one. That guess causes wrong-part replacement on V engines.
Step 3: Inspect the Connector and Harness
Unplug the Bank 1 Sensor 1 connector and inspect both sides. Look for melted plastic, pushed-out pins, oil, water, and green corrosion.
Follow the harness back from the sensor. Exhaust heat can melt insulation where the wire touches the manifold, downpipe, or heat shield.
Repair damaged wiring before replacing the sensor. A new sensor will fail again if the harness keeps shorting against metal.
Tip: Tug each wire gently at the connector. A loose terminal can look fine and still break contact during engine vibration.
Step 4: Check the O2 Heater Fuse
Check the oxygen sensor heater fuse with a test light or multimeter. Do not trust a visual fuse check.
Some vehicles feed several oxygen sensor heaters from one fuse or relay. If more than one heater code appears, the shared power feed becomes the main suspect.
A blown fuse points to a shorted heater wire or failed heater element. Replace the fuse once after inspection, then test the circuit if it blows again.
Step 5: Test Heater Voltage and Ground
Turn the key on and test the heater power terminal at the harness connector. Many vehicles send battery voltage to one side of the heater circuit.
The PCM often controls the ground side by switching the heater on and off. NYVIP3 explains that the PCM checks heater current flow and evaluates each heater circuit on its own. :contentReference[oaicite:4]{index=4}
No voltage means you need to trace the fuse, relay, or power wire. No ground control means you need to test the control wire back to the PCM.
Step 6: Measure Oxygen Sensor Heater Resistance
Disconnect the sensor and measure resistance across the heater terminals. Many four-wire sensors use two same-colored wires for the heater.
Compare the reading with the factory service manual. Some guides list broad ranges, but the manual spec wins because sensor design varies by vehicle.
An open circuit, infinite resistance, or a shorted reading means the heater element failed. In that case, replacing Bank 1 Sensor 1 is the correct repair.
Step 7: Replace the Sensor Only After Testing
Replace the upstream Bank 1 oxygen sensor when the heater element fails. Use an exact-fit sensor with the correct connector.
Do not cut and splice a universal sensor unless the repair manual approves it. Poor splices add resistance and can create the same heater fault again.
Thread the new sensor by hand first. Then tighten it to the listed torque and route the harness away from the exhaust.
4. What Most People Get Wrong About P0135
Most people treat P0135 as an oxygen sensor replacement code. The better view is this: P0135 is a heater circuit diagnosis code.
The sensor is one part of that circuit. The fuse, relay, connector, power wire, ground control, and PCM driver also belong to the same fault path.
- Wrong belief 1: P0135 always means the O2 sensor is bad.
- Correct fix: Test the heater circuit before buying parts.
- Wrong belief 2: An exhaust leak is the main cause.
- Correct fix: Exhaust leaks affect sensor readings more than heater power.
- Wrong belief 3: Clearing the code fixes the problem.
- Correct fix: Clear the code after the circuit passes testing.
What most people don’t think to ask is whether the heater monitor has completed after repair. The California Bureau of Automotive Repair lists many OBD readiness and monitor issues by vehicle, which shows why drive cycles and monitor status matter after a repair. California BAR OBD test reference :contentReference[oaicite:5]{index=5}
5. Should You Drive With a P0135 Code?
You can drive short distances with P0135 when the engine runs smoothly. You should fix it soon because cold-start fuel control and emissions suffer.
A failed heater delays oxygen sensor activity. Edmunds notes that this can increase fuel use, raise emissions, and affect the catalytic converter over time. :contentReference[oaicite:6]{index=6}
Do not ignore P0135 before an emissions inspection. OBD systems monitor emission-related parts and store diagnostic trouble codes when faults appear. EPA on-board diagnostic regulations overview :contentReference[oaicite:7]{index=7}
| Situation | Best action |
|---|---|
| Car runs normally | Diagnose within the next few drives |
| Rough cold start | Test the heater circuit soon |
| Multiple O2 heater codes | Check shared fuse or relay first |
| Inspection due soon | Repair and complete the drive cycle |
The safe choice is simple. Fix the heater circuit before the code turns into failed inspection, poor fuel economy, or repeat diagnostic time.
6. P0135 Repair Cost and Parts Needed
P0135 repair cost depends on the failed part. A fuse costs little, wiring repair costs more, and oxygen sensor replacement costs the most.
Many upstream oxygen sensors cost about $40 to $250 for parts. Labor rises when the sensor is seized, hidden behind shields, or hard to reach.
The cheapest repair is not always the best repair. The best repair is the one proven by testing.
- Fuse replacement: low cost if no short remains
- Connector repair: low to moderate cost
- Wiring repair: moderate cost due to labor time
- O2 sensor replacement: moderate cost on most vehicles
- PCM repair: rare and costly
PCM failure sits last on the list. Most P0135 repairs end at the sensor, connector, fuse, or wiring.
IMAGE SUGGESTION: Close-up photo of an upstream oxygen sensor connector near the exhaust manifold.
ALT TEXT: how to fix P0135 upstream oxygen sensor connector inspection
7. How to Confirm the P0135 Fix Worked
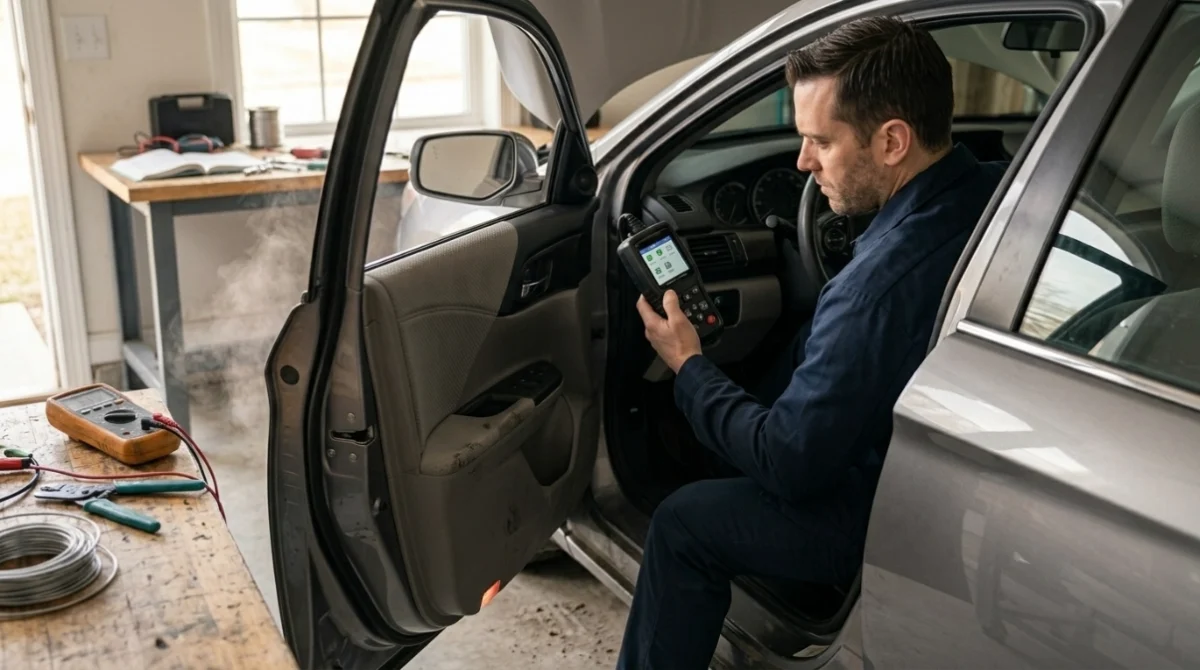
Confirm the repair by clearing the code, starting the engine cold, and scanning again. P0135 often returns fast when the heater circuit still has a hard fault.
After a repair, run the vehicle through the required drive cycle. The oxygen sensor heater monitor must complete before some emissions tests accept the vehicle.
Check pending codes after the test drive. A pending P0135 means the PCM still sees a heater circuit problem, even if the check engine light has not returned.
- Clear stored and pending codes.
- Start the engine from cold.
- Watch battery voltage stay stable.
- Drive until the engine reaches full temperature.
- Rescan for stored and pending codes.
- Check O2 heater monitor readiness.
If P0135 comes back after sensor replacement, stop replacing parts. Test the power feed, ground control, connector tension, and harness continuity.
P0135 is a heater circuit fault, so the right repair starts with electrical testing before sensor replacement.
As vehicles age, connector tension and wire insulation faults will cause more repeat O2 heater codes than quick scans reveal.
Before buying parts, unplug Bank 1 Sensor 1 and inspect the connector pins for corrosion, heat damage, or loose terminals.
Frequently Asked Questions
Can a bad fuse cause P0135?
Yes, a blown oxygen sensor heater fuse can cause P0135. The heater circuit needs power to warm the upstream oxygen sensor, and a failed fuse stops that power. If the new fuse blows again, test for a shorted wire or failed heater element.
Will a new oxygen sensor clear P0135?
A new oxygen sensor will clear P0135 only when the sensor heater element caused the fault. It will not fix a damaged connector, blown fuse, broken wire, or poor ground control. Test the circuit first so you replace the correct part.
Where is Bank 1 Sensor 1 located?
Bank 1 Sensor 1 is the upstream oxygen sensor on the cylinder 1 side of the engine. It sits before the catalytic converter. On most four-cylinder engines, there is only one bank, so Sensor 1 is the upstream sensor before the converter.
Can P0135 cause poor gas mileage?
Yes, P0135 can reduce gas mileage during warm-up because the oxygen sensor reaches its working range slower. The PCM can stay in warm-up fuel strategy longer. That can increase fuel use and exhaust emissions, especially during short trips.
How long does it take to fix P0135?
P0135 diagnosis often takes 30 to 90 minutes when the sensor is easy to reach. Repair time depends on the cause. A fuse or connector issue can be fast, while a seized oxygen sensor or damaged harness takes longer.
